Appearance
Example Flow: Save new Blog Posts in Google Sheets and send an e-mail
Flow Description:
A new Blog post will be saved automatically in a Google Sheet and a notification e-mail will be sent.
Goal:
New Blog posts from a RSS feed will be saved in a Google Sheet for a comfortable comprehensive overview and then a notification e-mail will be sent to a specified e-mail account.
Prerequisites
- This guide assumes you have already connected the Google Sheets and SMTP apps.
- For this example flow a new Blog post needs to have been posted in a RSS feed.
- For this example flow a Google Sheet has been set up, named e.g. "New Blog Posts".
Steps:
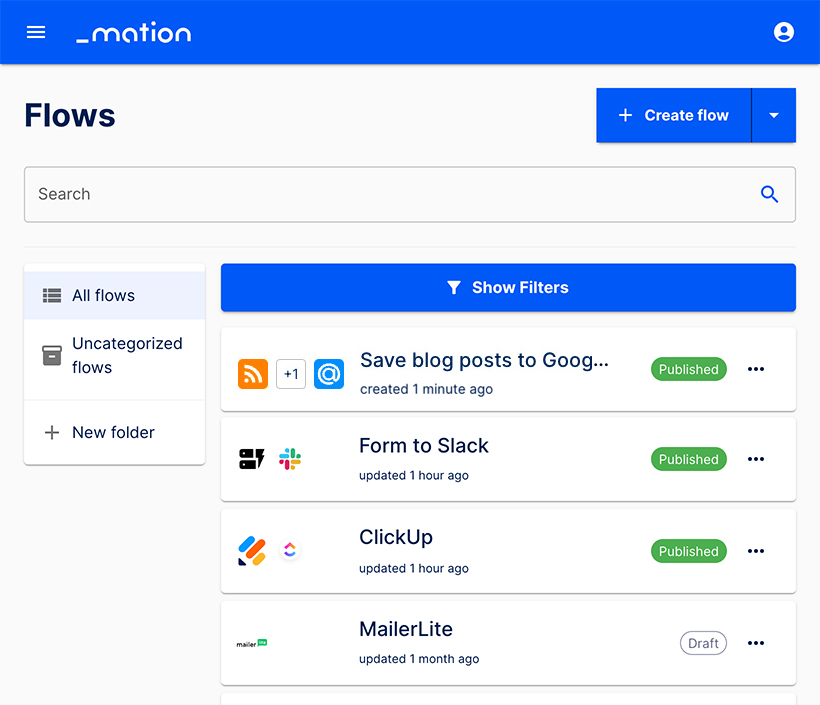
Go to the Flows page on Mation. Click the + Create flow button to create a flow.
Name your flow with an appropriate name.
NOTE
You may edit your flow name at any time. You don't need to unpublish a flow to rename it.
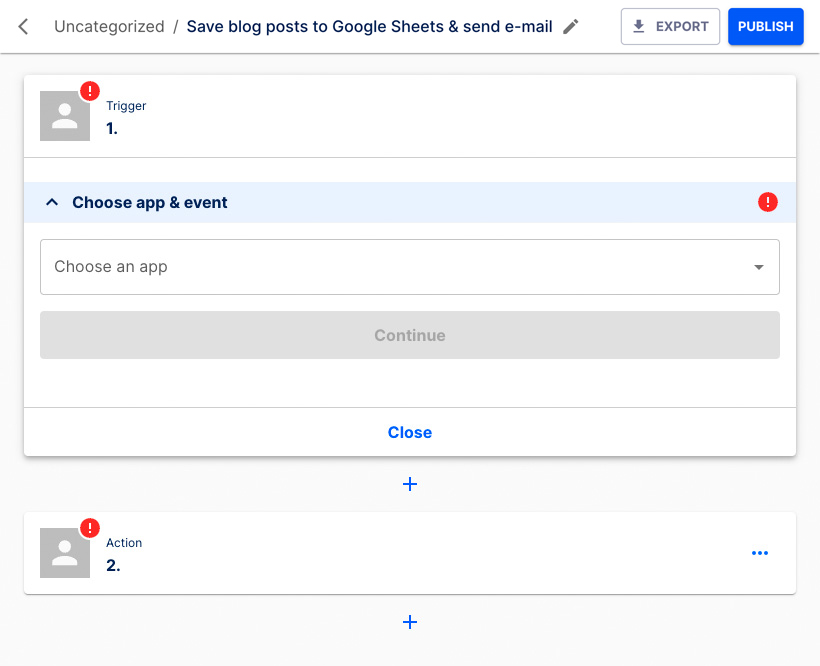
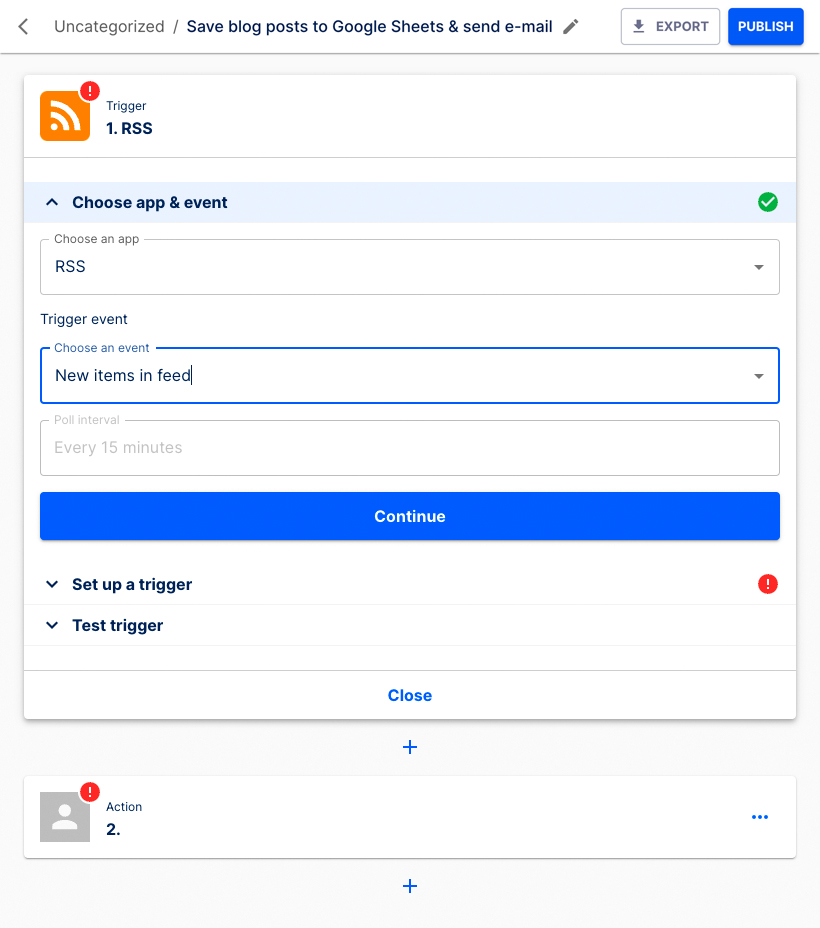
Choose RSS as application from the dropdown list.
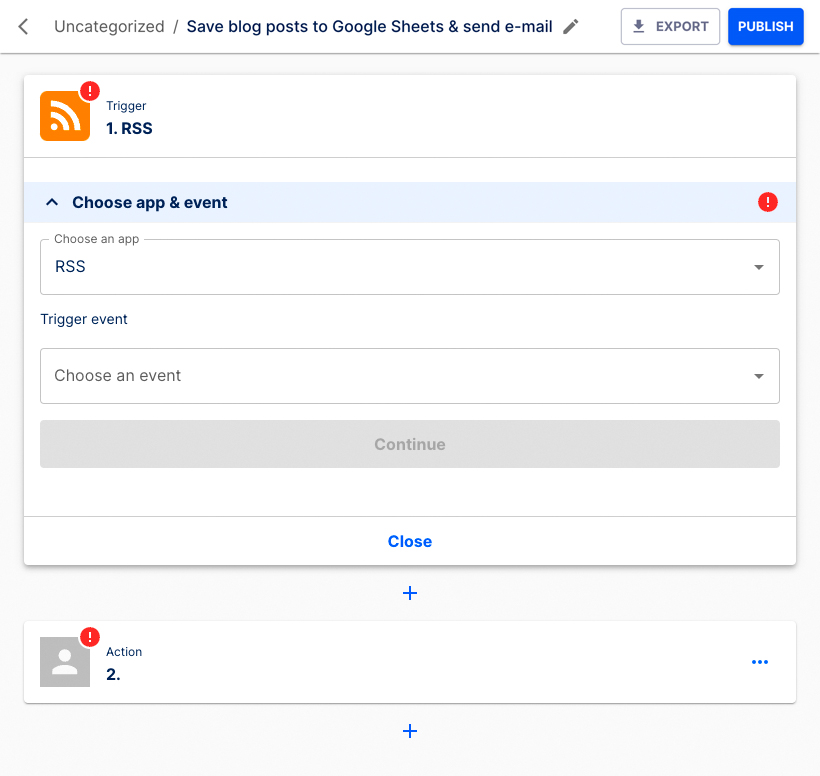
Choose New items in feed as the Trigger event from the dropdown list. Click the Continue button.
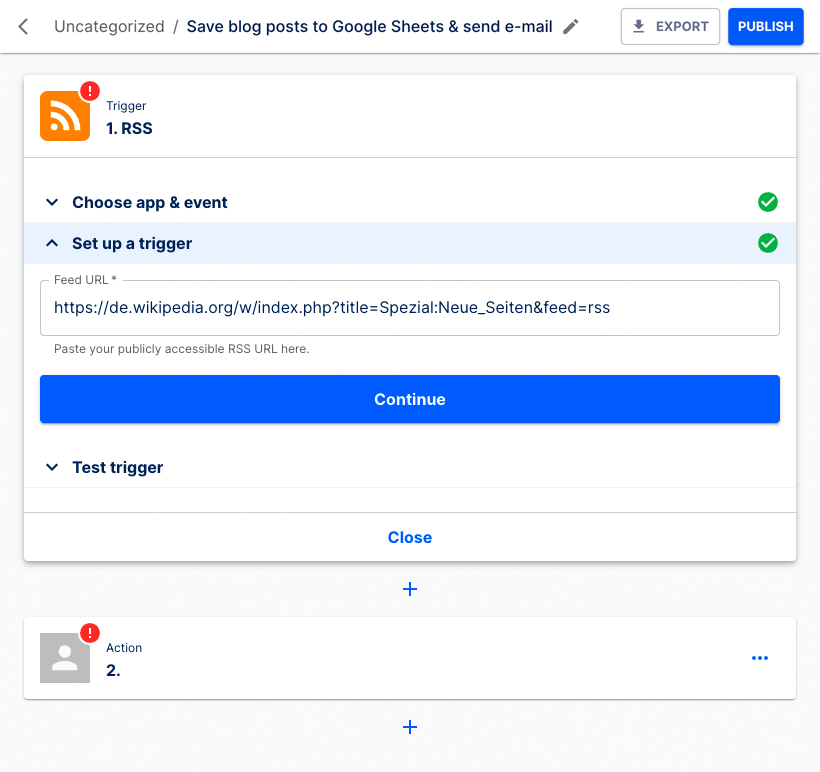
Copy the RSS Feed URL you would like to connect, and paste it into the Feed URL field. Click the Continue button.
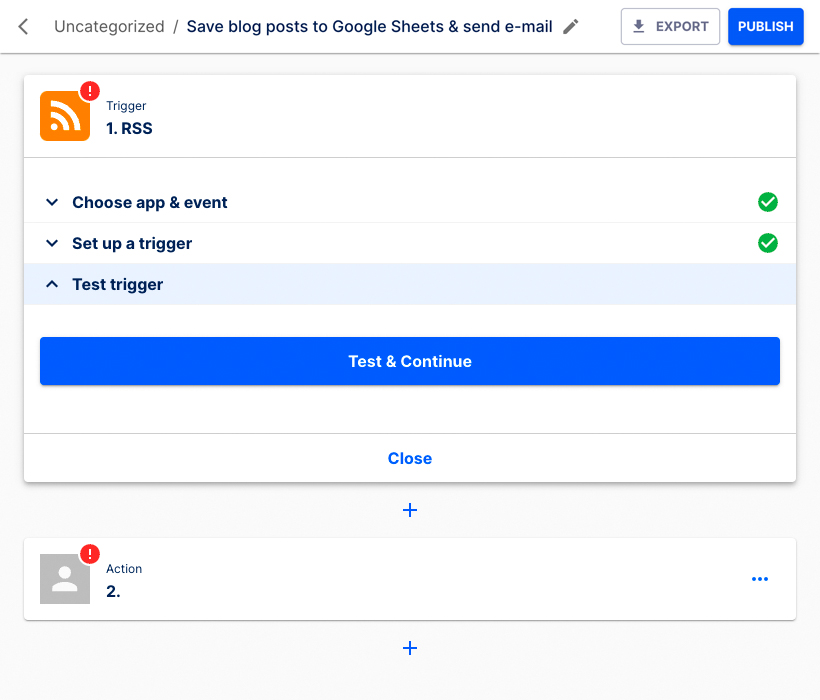
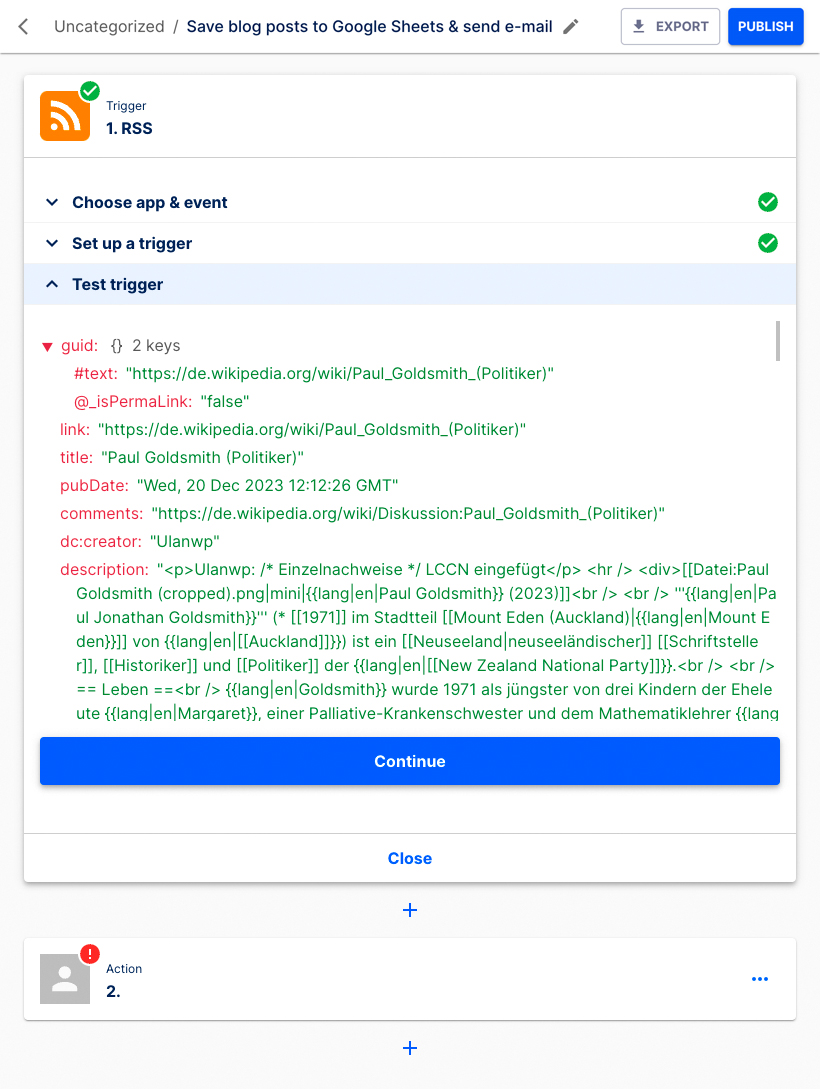
Click the Test & Continue button to test the Trigger step.
Click the Continue button.
The Action step is now ready for configuration.
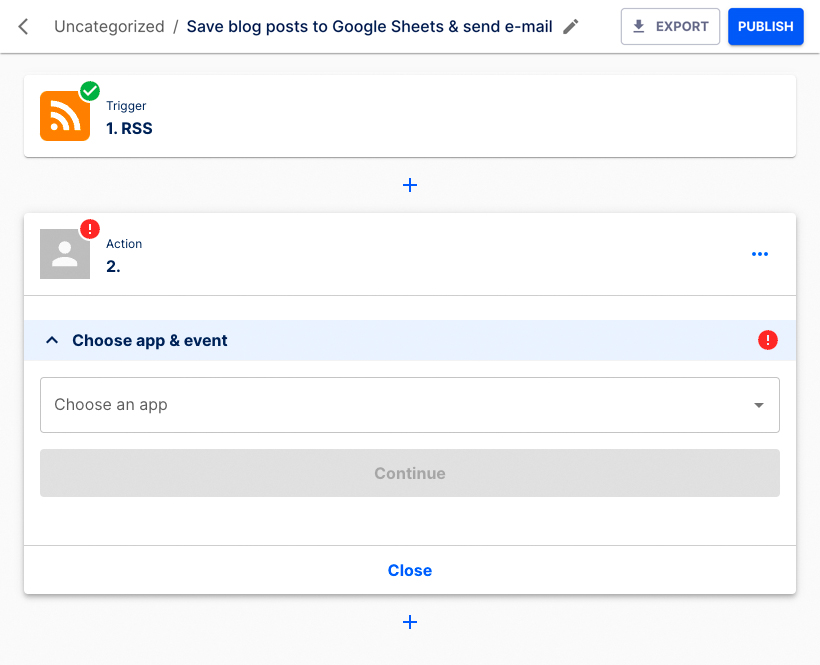
Choose Google Sheets as application from the dropdown list.
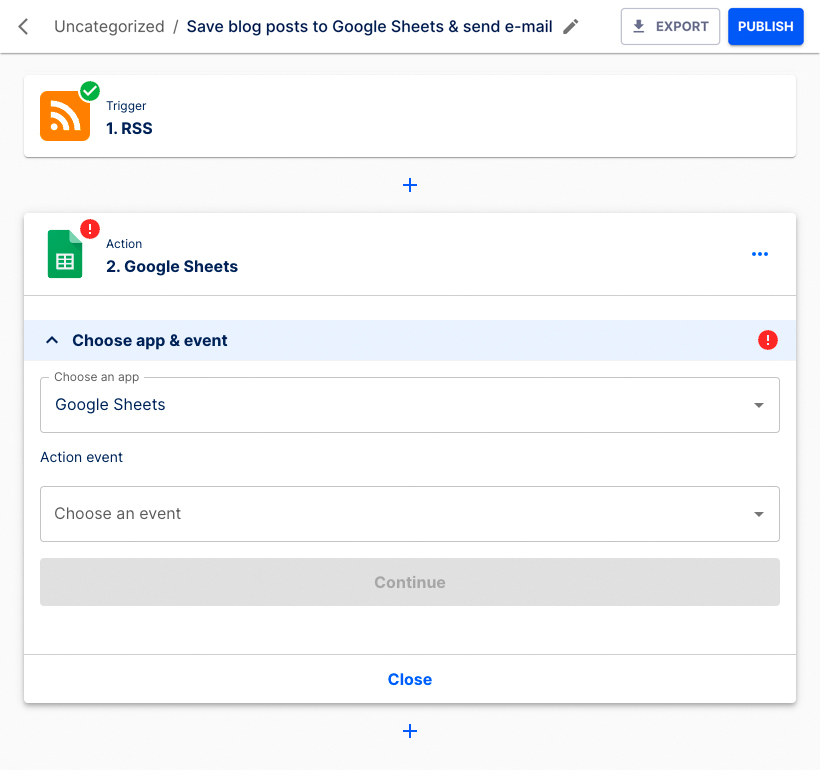
Choose Create spreadsheet row as the Action event from the dropdown list. Click the Continue button.
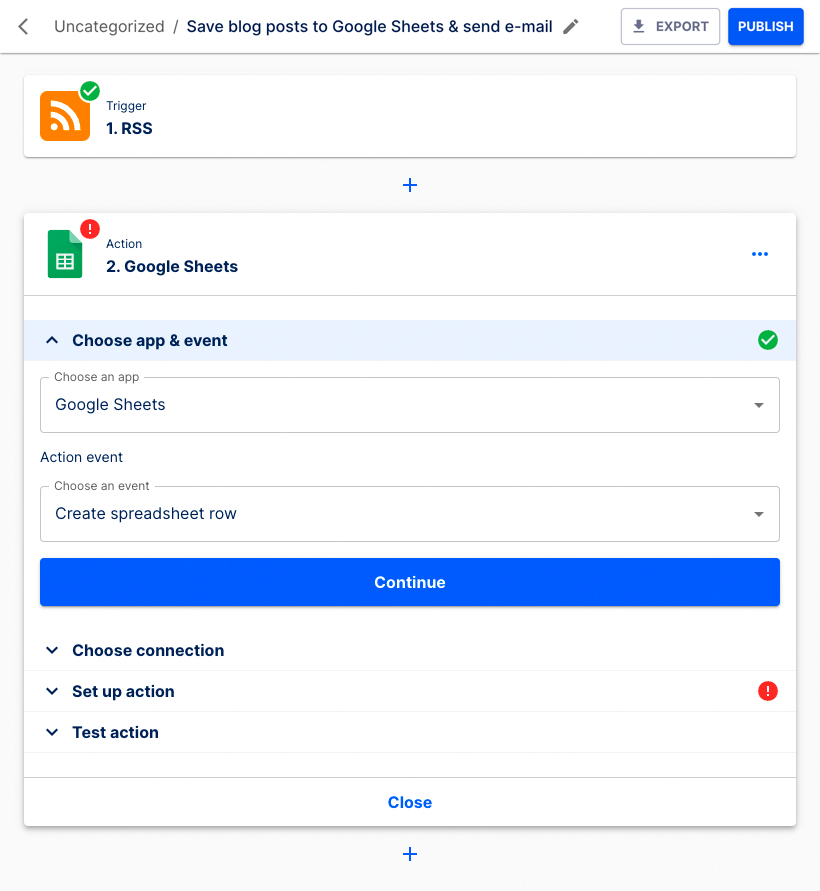
Choose your connection from the dropdown list. Click the Continue button.
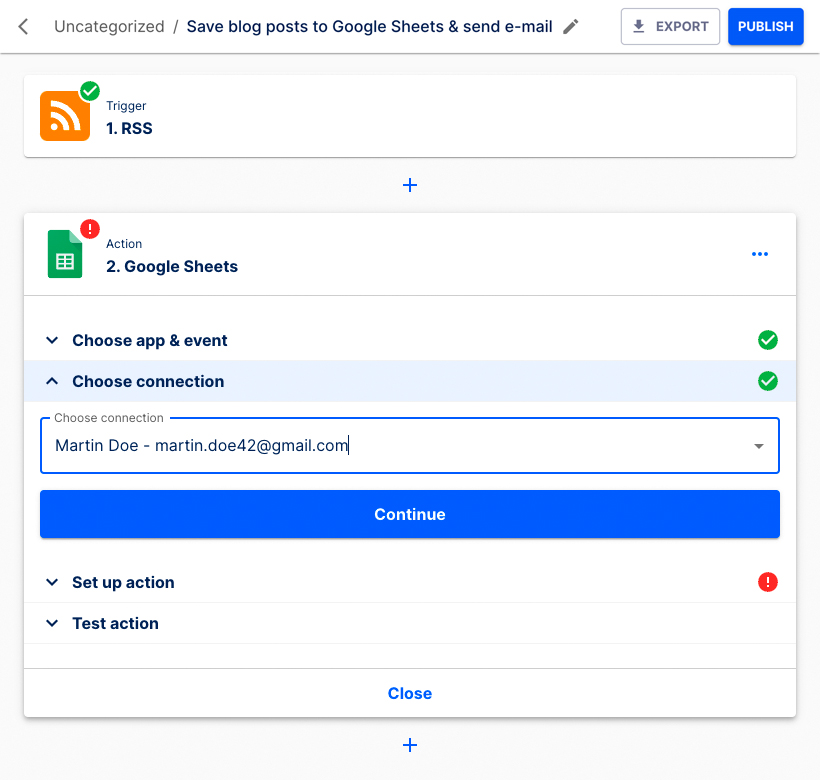
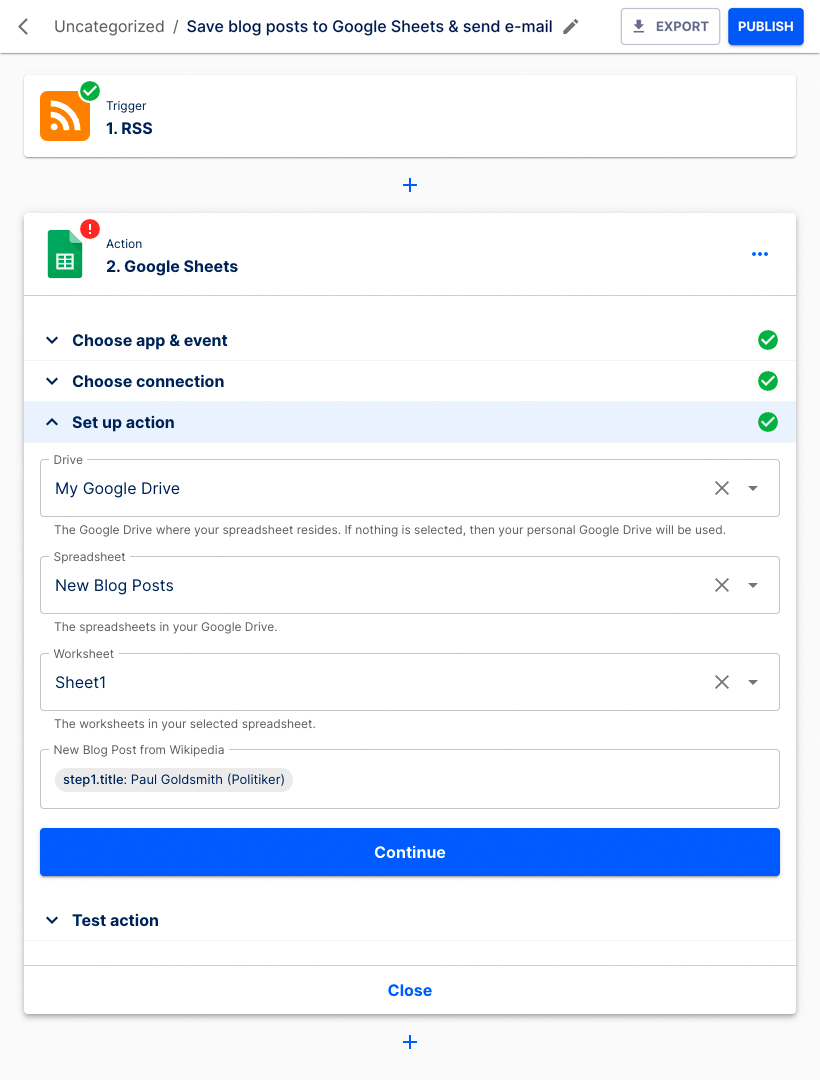
Set up the action choosing your Drive, Spreadsheet, and Worksheet from the respective dropdown lists. Click the Continue button.
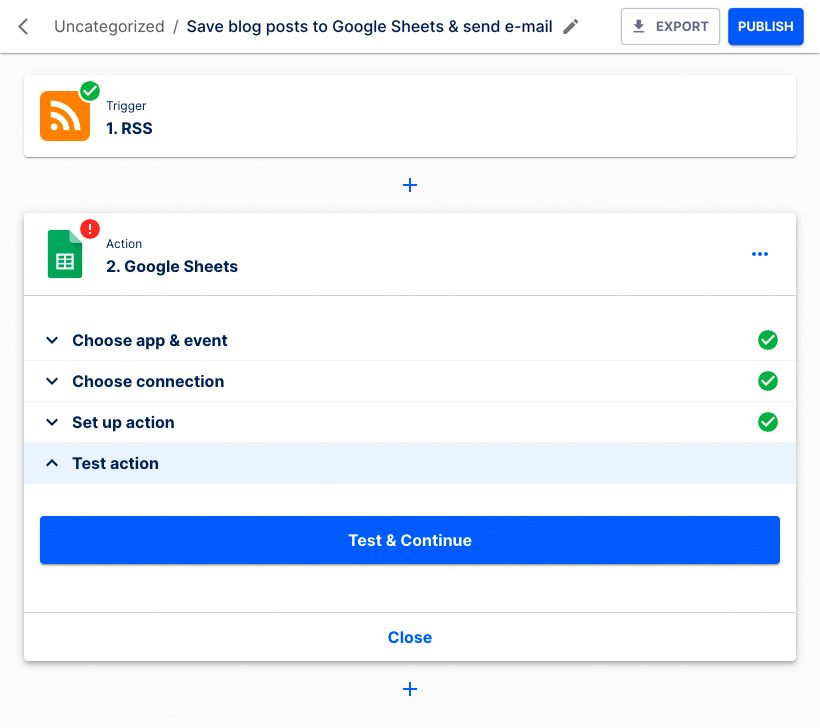
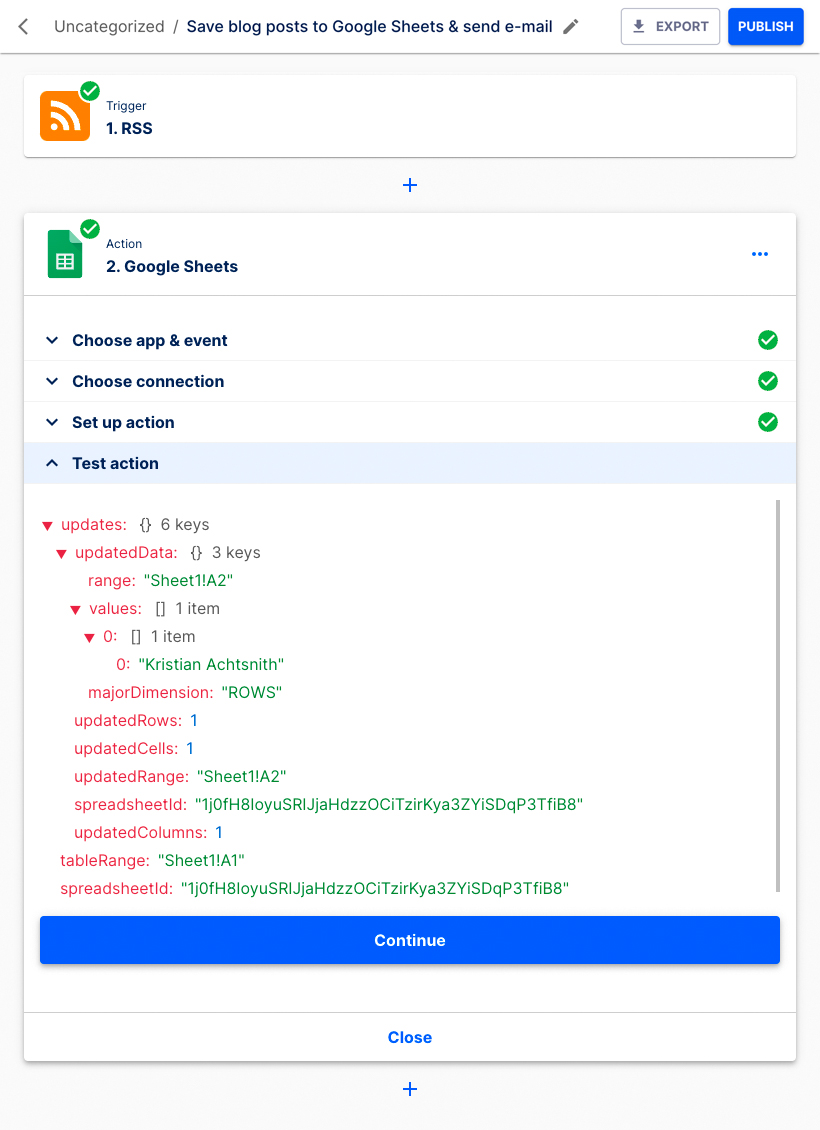
Click the Test & Continue button to test the Action step.
Click the Continue button.
Set up the next Action step.
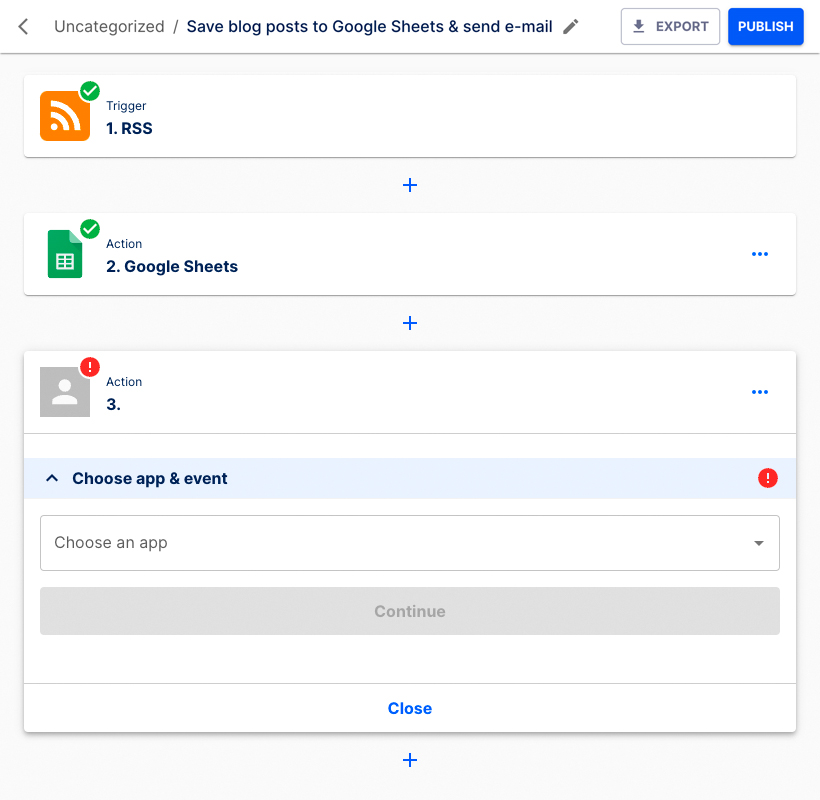
Choose SMTP as application from the dropdown list.
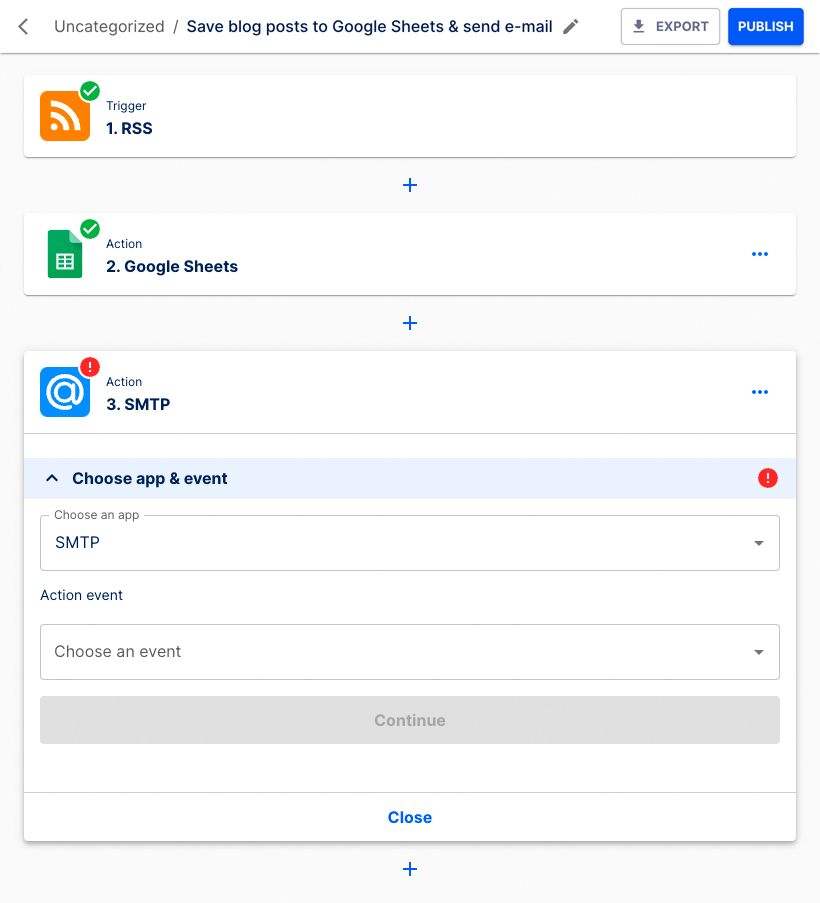
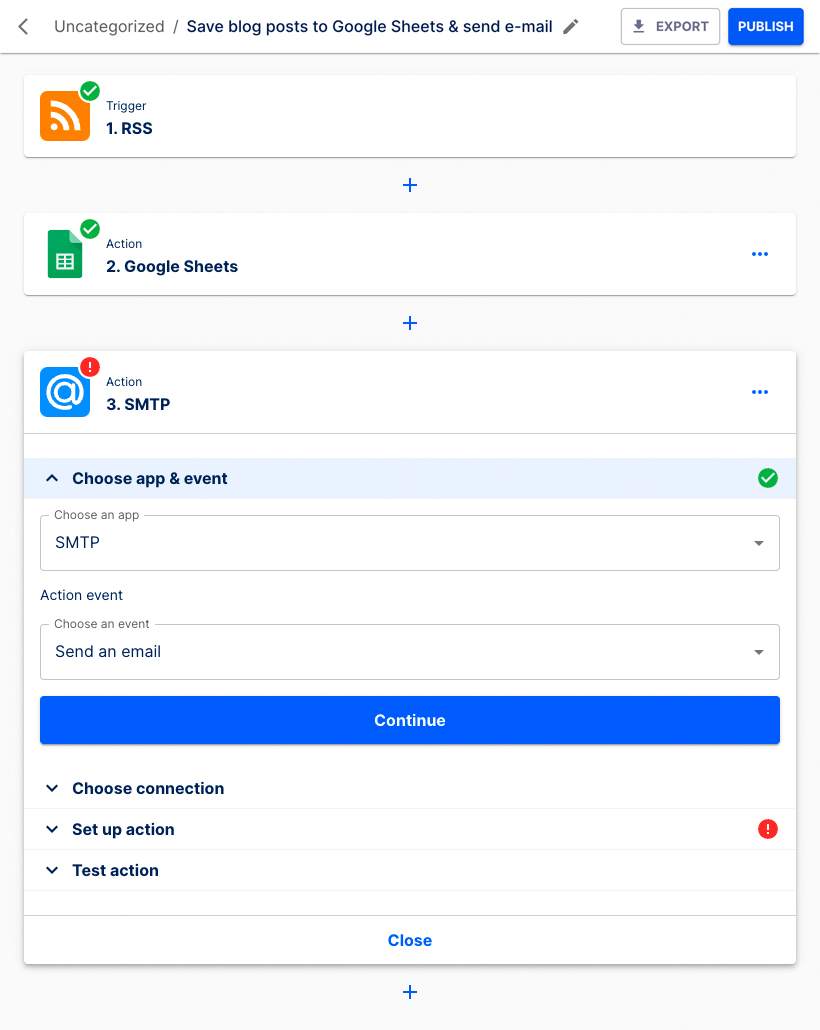
Choose Send an email as the Action event from the dropdown list. Click the Continue button.
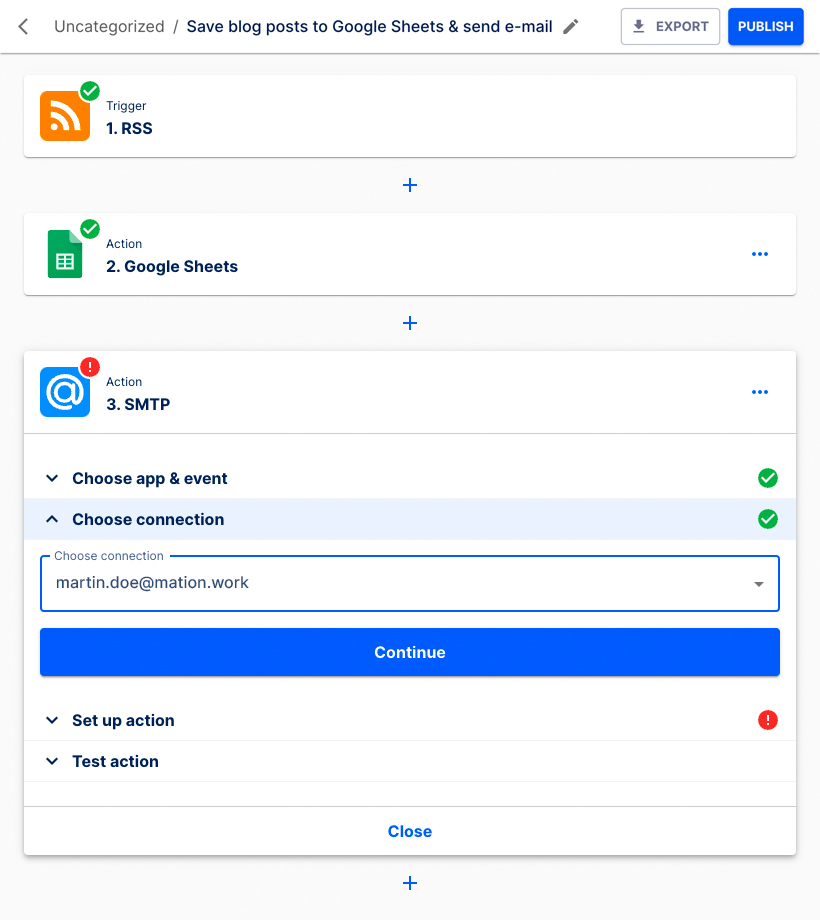
Choose your connection from the dropdown menu. Click the Continue button.
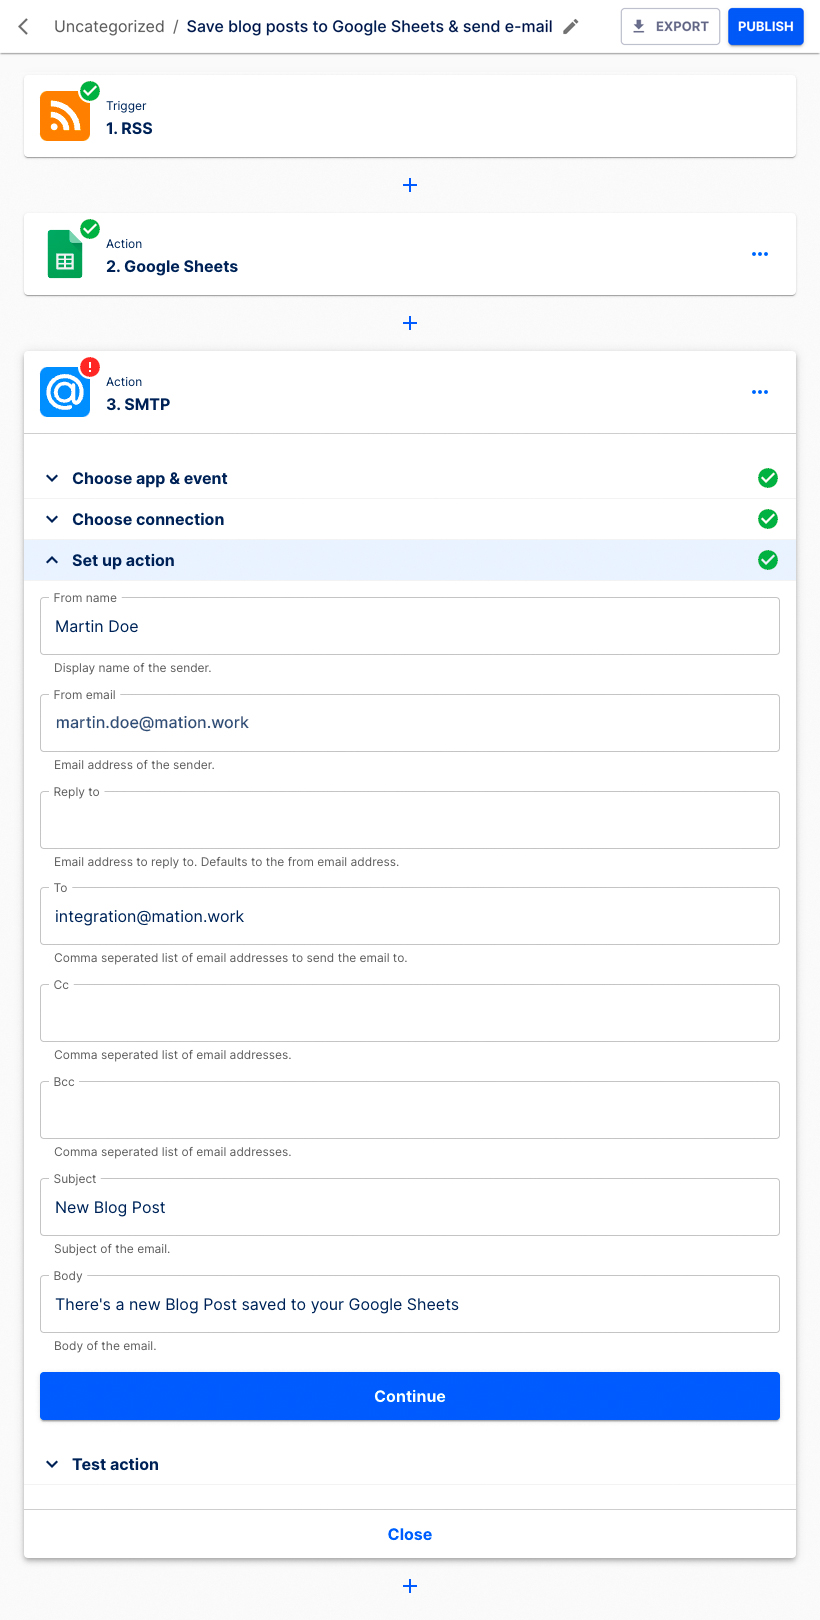
To enable functionality fill in the From name, From email, To, Subject, and Body fields. Feel free to fill in the Reply to, Cc, and Bcc as you see fit. Click the Continue button.
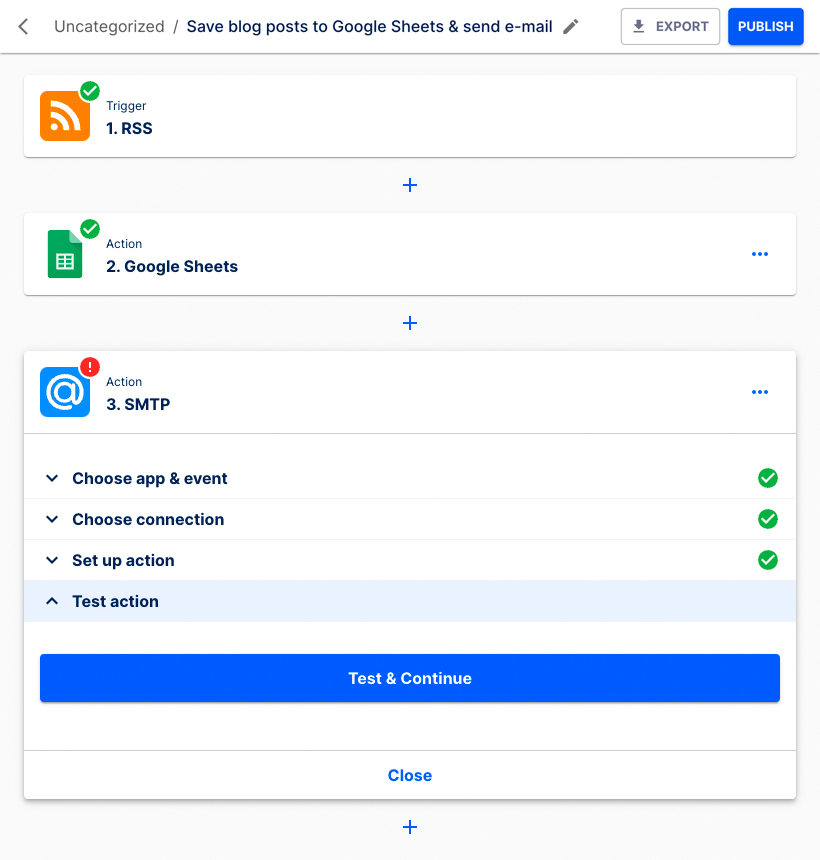
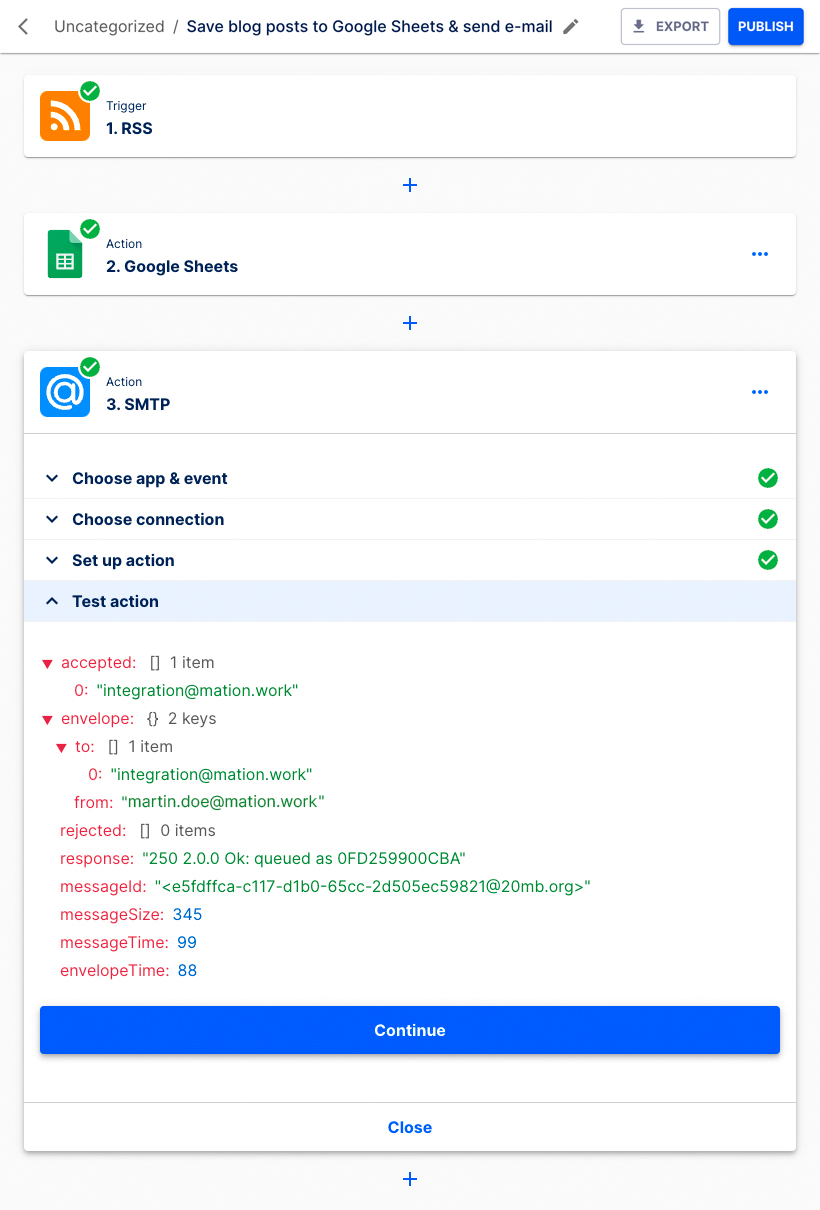
Click the Test & Continue button to test the Action step.
Click the Continue button.
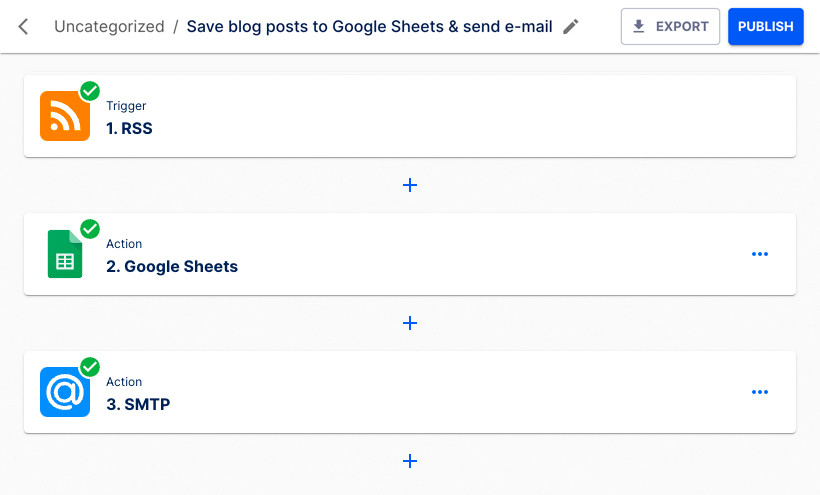
Your flow is now configured. Click the Publish button.
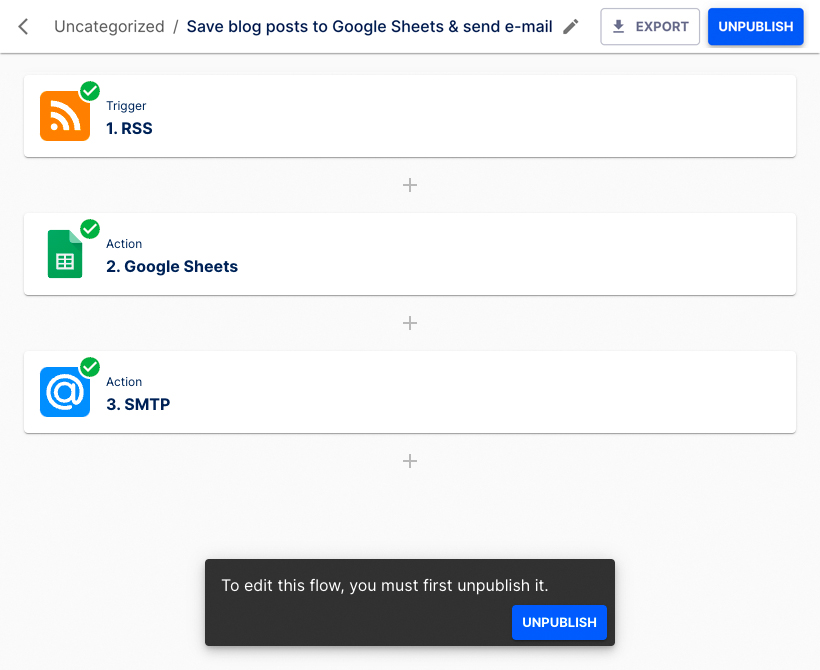
Your new flow has been published! If you would like to edit the flow, click the Unpublish button.
NOTE
Published flows cannot be edited. To make changes, you must first unpublish the flow, apply your changes, and then publish it again.
Your new flow is ready and running!