Appearance
Miro
Miro is a popular online collaborative whiteboarding platform designed to enable teams to work effectively together, regardless of their location. It offers a digital canvas where teams can brainstorm, plan projects, create user story maps, design wireframes, and more.
Key features of Miro:
- Interactive Whiteboards: A digital canvas for brainstorming, planning, and collaboration.
- Real-Time Collaboration: Enables teams to work simultaneously on the whiteboard.
- Integration with Tools: Connects with platforms like Slack, Jira, and Asana.
- Templates: Offers a variety of templates for different workflows and use cases.
- Visual Project Management: Tools for visually mapping projects and workflows.
- Online Workshops and Meetings: Facilitates remote workshops and meetings with collaborative features.
- User Story Maps and Wireframes: Specialized tools for user story mapping and wireframe design.
- Infinite Canvas: Expansive workspace for large and complex projects.
- Access Control and Permissions: Manages viewing and editing rights for whiteboards.
- Export Options: Export boards to various file formats for sharing and presentation.
Further information
Read more detailed information on Miro here.
Actions:
- Create board: Creates a new board.
- Copy board: Creates a copy of an existing board.
- Create card widget: Creates a new card widget on an existing board.
Connect with Miro:
INFO
Pop-up windows must be allowed for this browser session to enable the connection of this third-party app with Mation.
- Sign in to your Miro account.
- Click this link to create a developer team.
- In the Create new team modal, select the checkbox and then click the Create team button.
- Click the Create new app button in the Your apps tab.
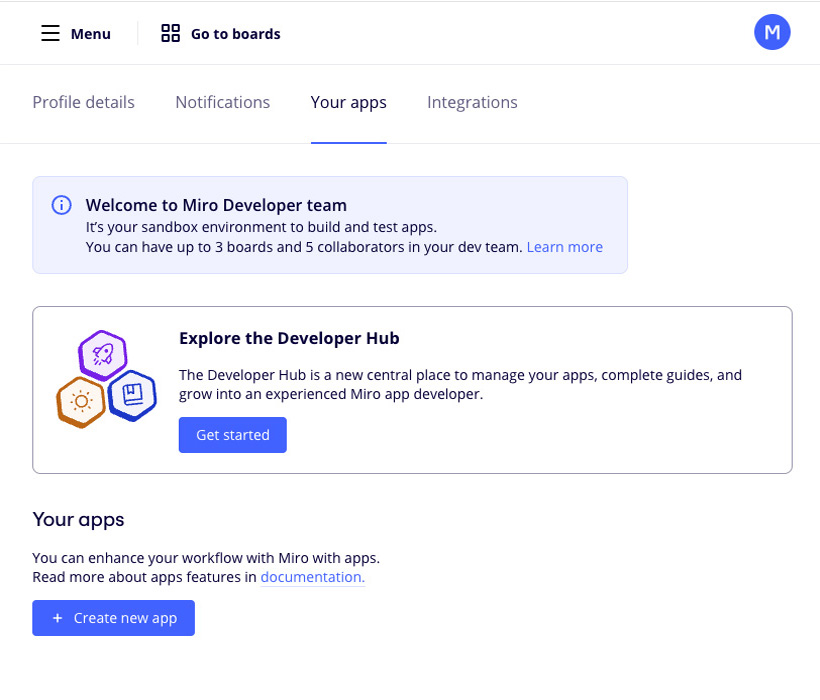
- Fill in the App Name field, select a Developer team and check the Expire user authorization token checkbox, and click the Create app button.

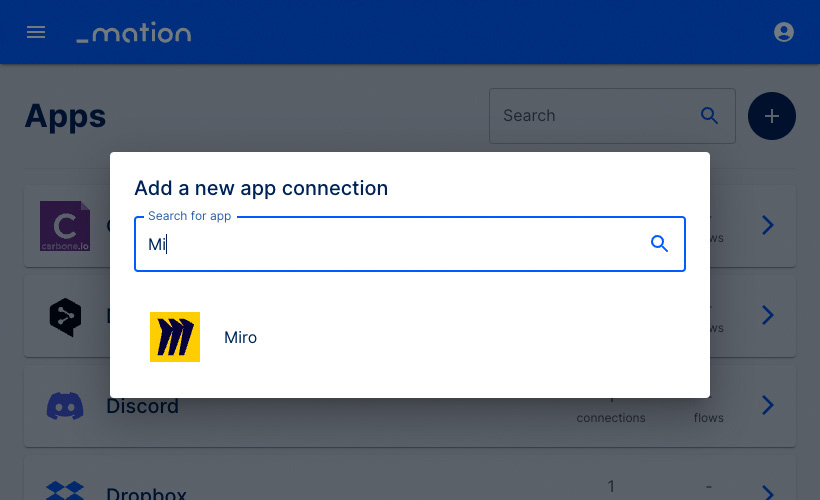
- Go to Mation and navigate to Apps. Click the + Add Connection button. In the popup, select Miro from the list.
- Copy the
OAuth Redirect URL.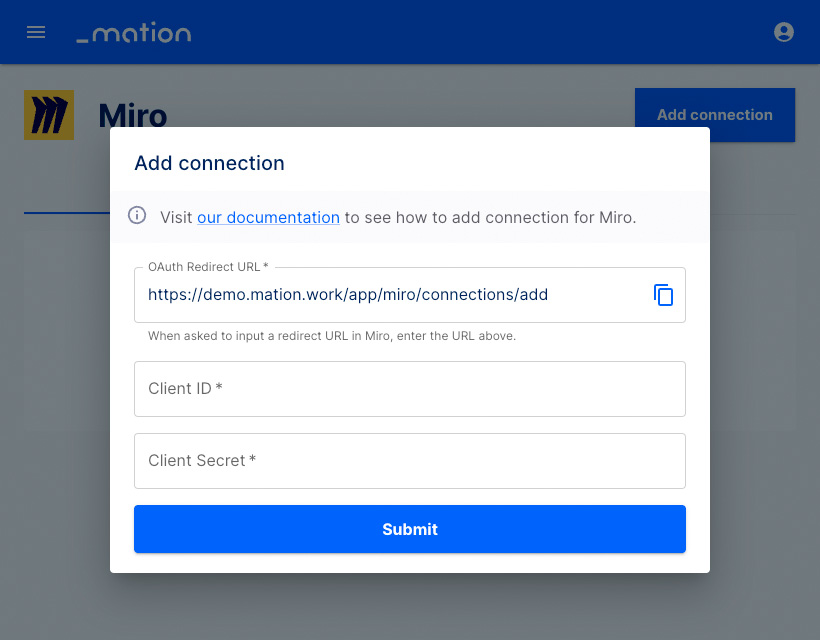
- Go back to Miro and scroll down to Redirect URI for OAuth2.0.
- Paste the
OAuth Redirect URLinto the Redirect URI for OAuth2.0 field and click the Add button.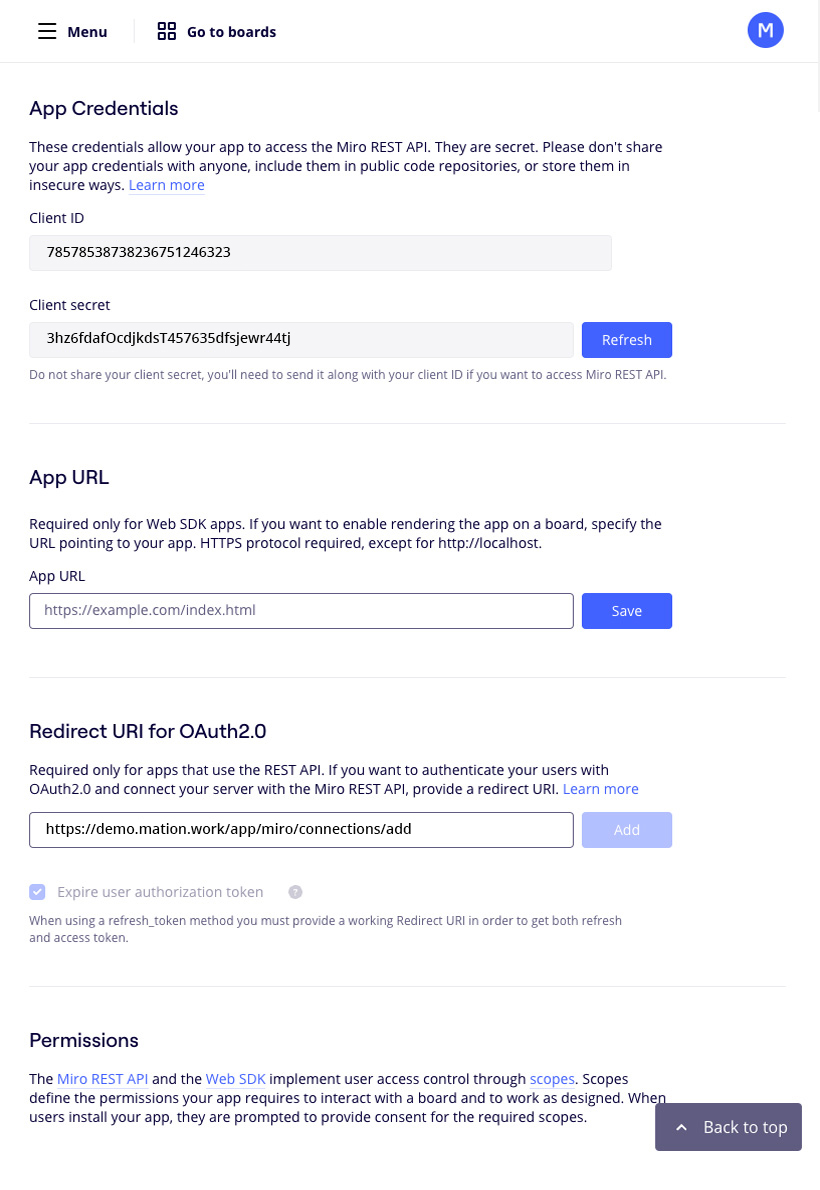
- Give permissions for
boards,identity, andteamscopes in the Permissions field.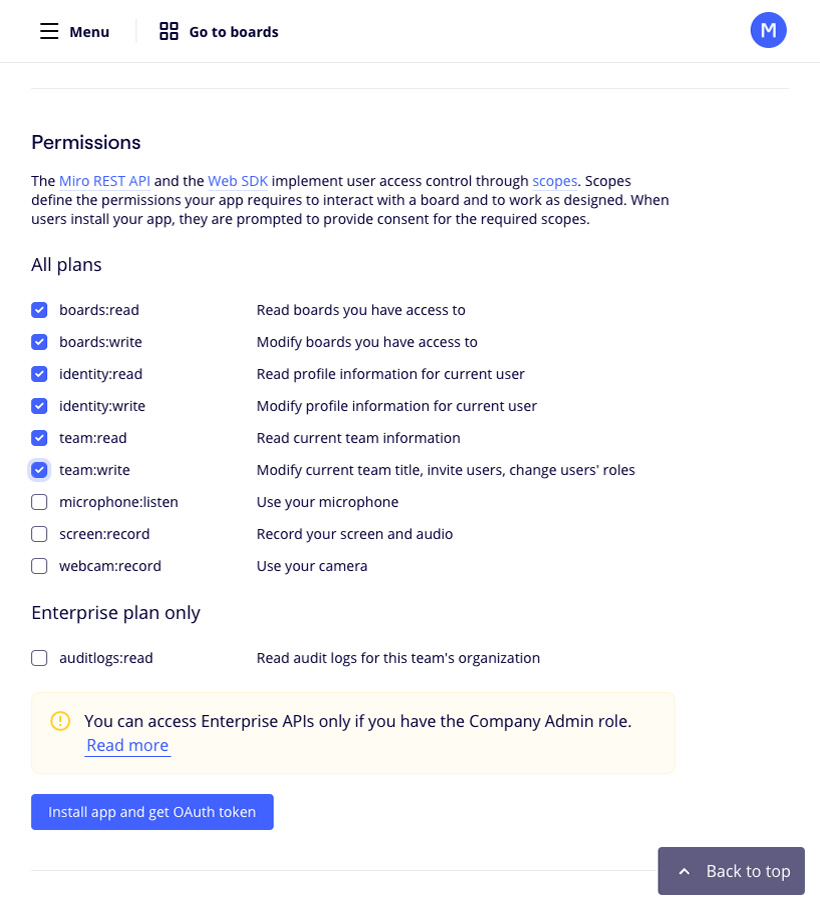
- Scroll back up to App Credentials.
- Copy the
Client IDvalue and paste it into the Client ID field on Mation. Copy theClient secretvalue and paste it into the Client Secret field on Mation, respectively.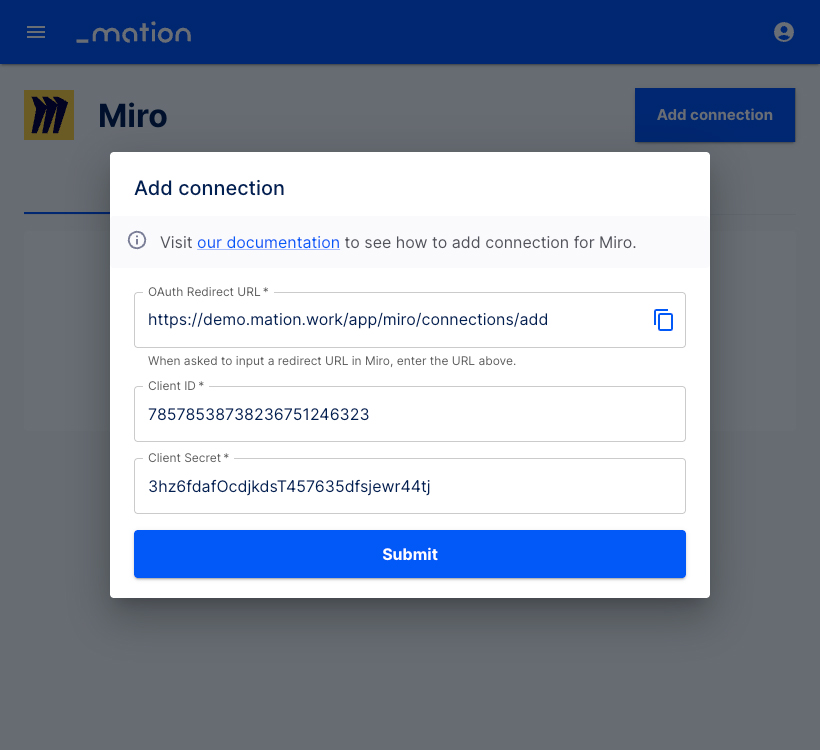
- Click the Submit button.
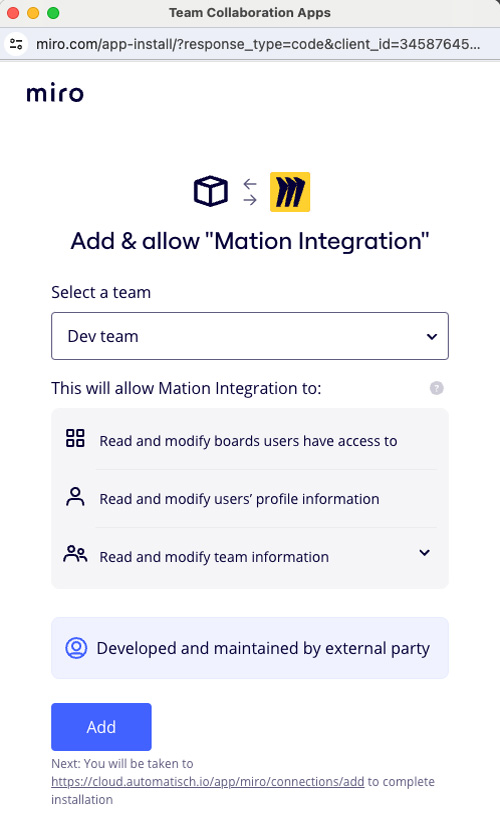
- A pop-up window appears. Select a team and click the Add button.
- Your Miro connection is now established.
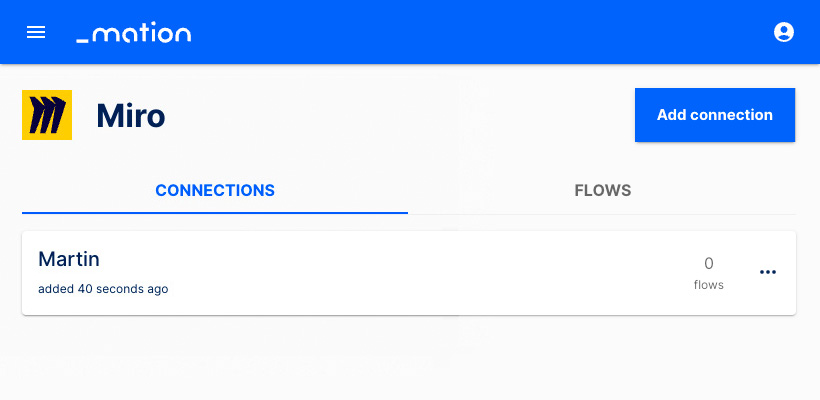
- Start using your new Miro connection with Mation.